Tags are a great way to separate your Gatsby influencers into different campaigns, reports, and manually approve them for Flows
Tags are static, while segments are dynamic. This means that you manually put profiles into Tags, whereas Segments are based on Filter logic.
Note: Since tags sync to Klaviyo, Attentive, Yotpo and more, you can use Gatsby tags to manually approve or deny ambassadors before they get into Flows.
How To Add Profiles To Tags:
Option 1: Tag an existing profile
Option 2: Import a new profile with a Tag
Option 1: Tag an existing profile
Step 1: Open the Profiles page >> click the checkbox next to the profile(s) you want to Tag:
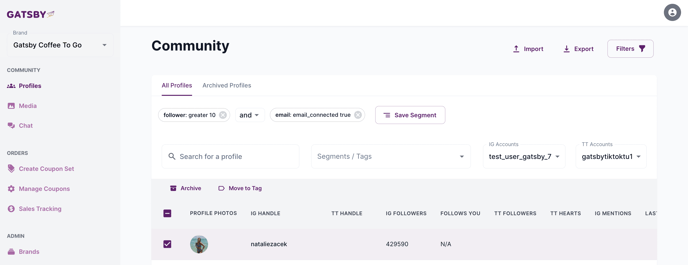
Step 2: Click "Move to Tag"
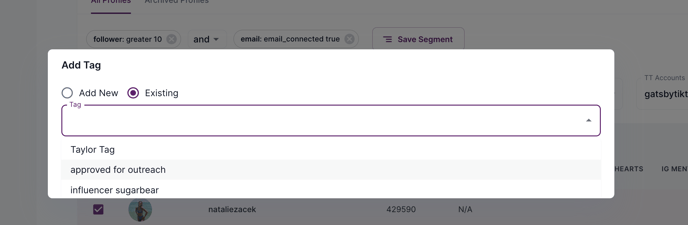
Step 3: Create a new Tag or select from an existing one you've previously made
Option 2: Import a new profile with a Tag
When importing a new user via CSV, you can apply a tag right away at the import by using the column header of "Tags"

For more on how to import profiles, see our help doc on it.
How to Filter for the Tag in Gatsby
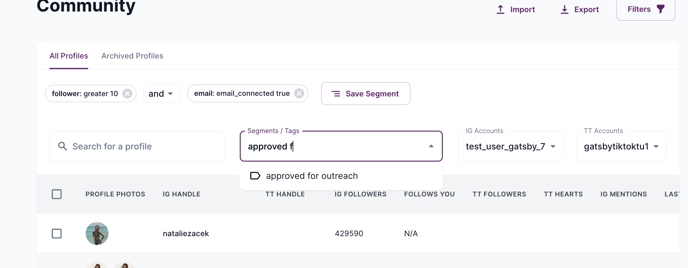
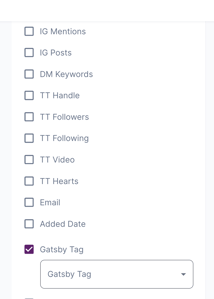
You will now be able to filter specifically for profiles who have that tag applied via the dropdown in the middle of the Profiles page:
Or if you want to use the Tag as part of a set of Filters, use the option under Filters:
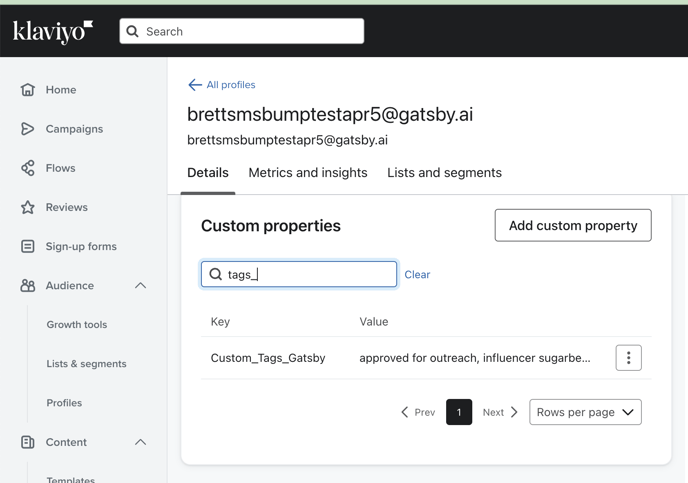
Using Gatsby Tags in Klaviyo
When you add a tag to a profile, it will automatically sync to our integration partners, including Klaviyo, under the property of Custom_Tags_Gatsby
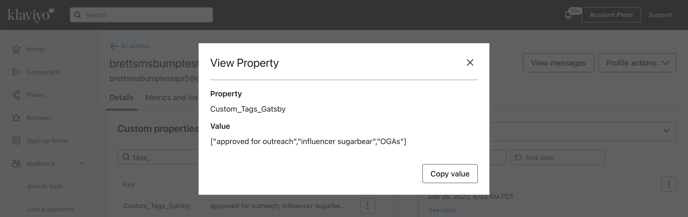
As you can see, a profile can have multiple tags associated with it. They sync to Klaviyo as an array so you can easily use them in Klaviyo filters.

How to Manually Approve Profiles for Flows
To manually approve profiles before they get into your Flow, simply require that the Custom_Tags_Gatsby is part of your segment that triggers the flow. For example, this could be the segment you use to trigger your Ambassador Welcome Email:
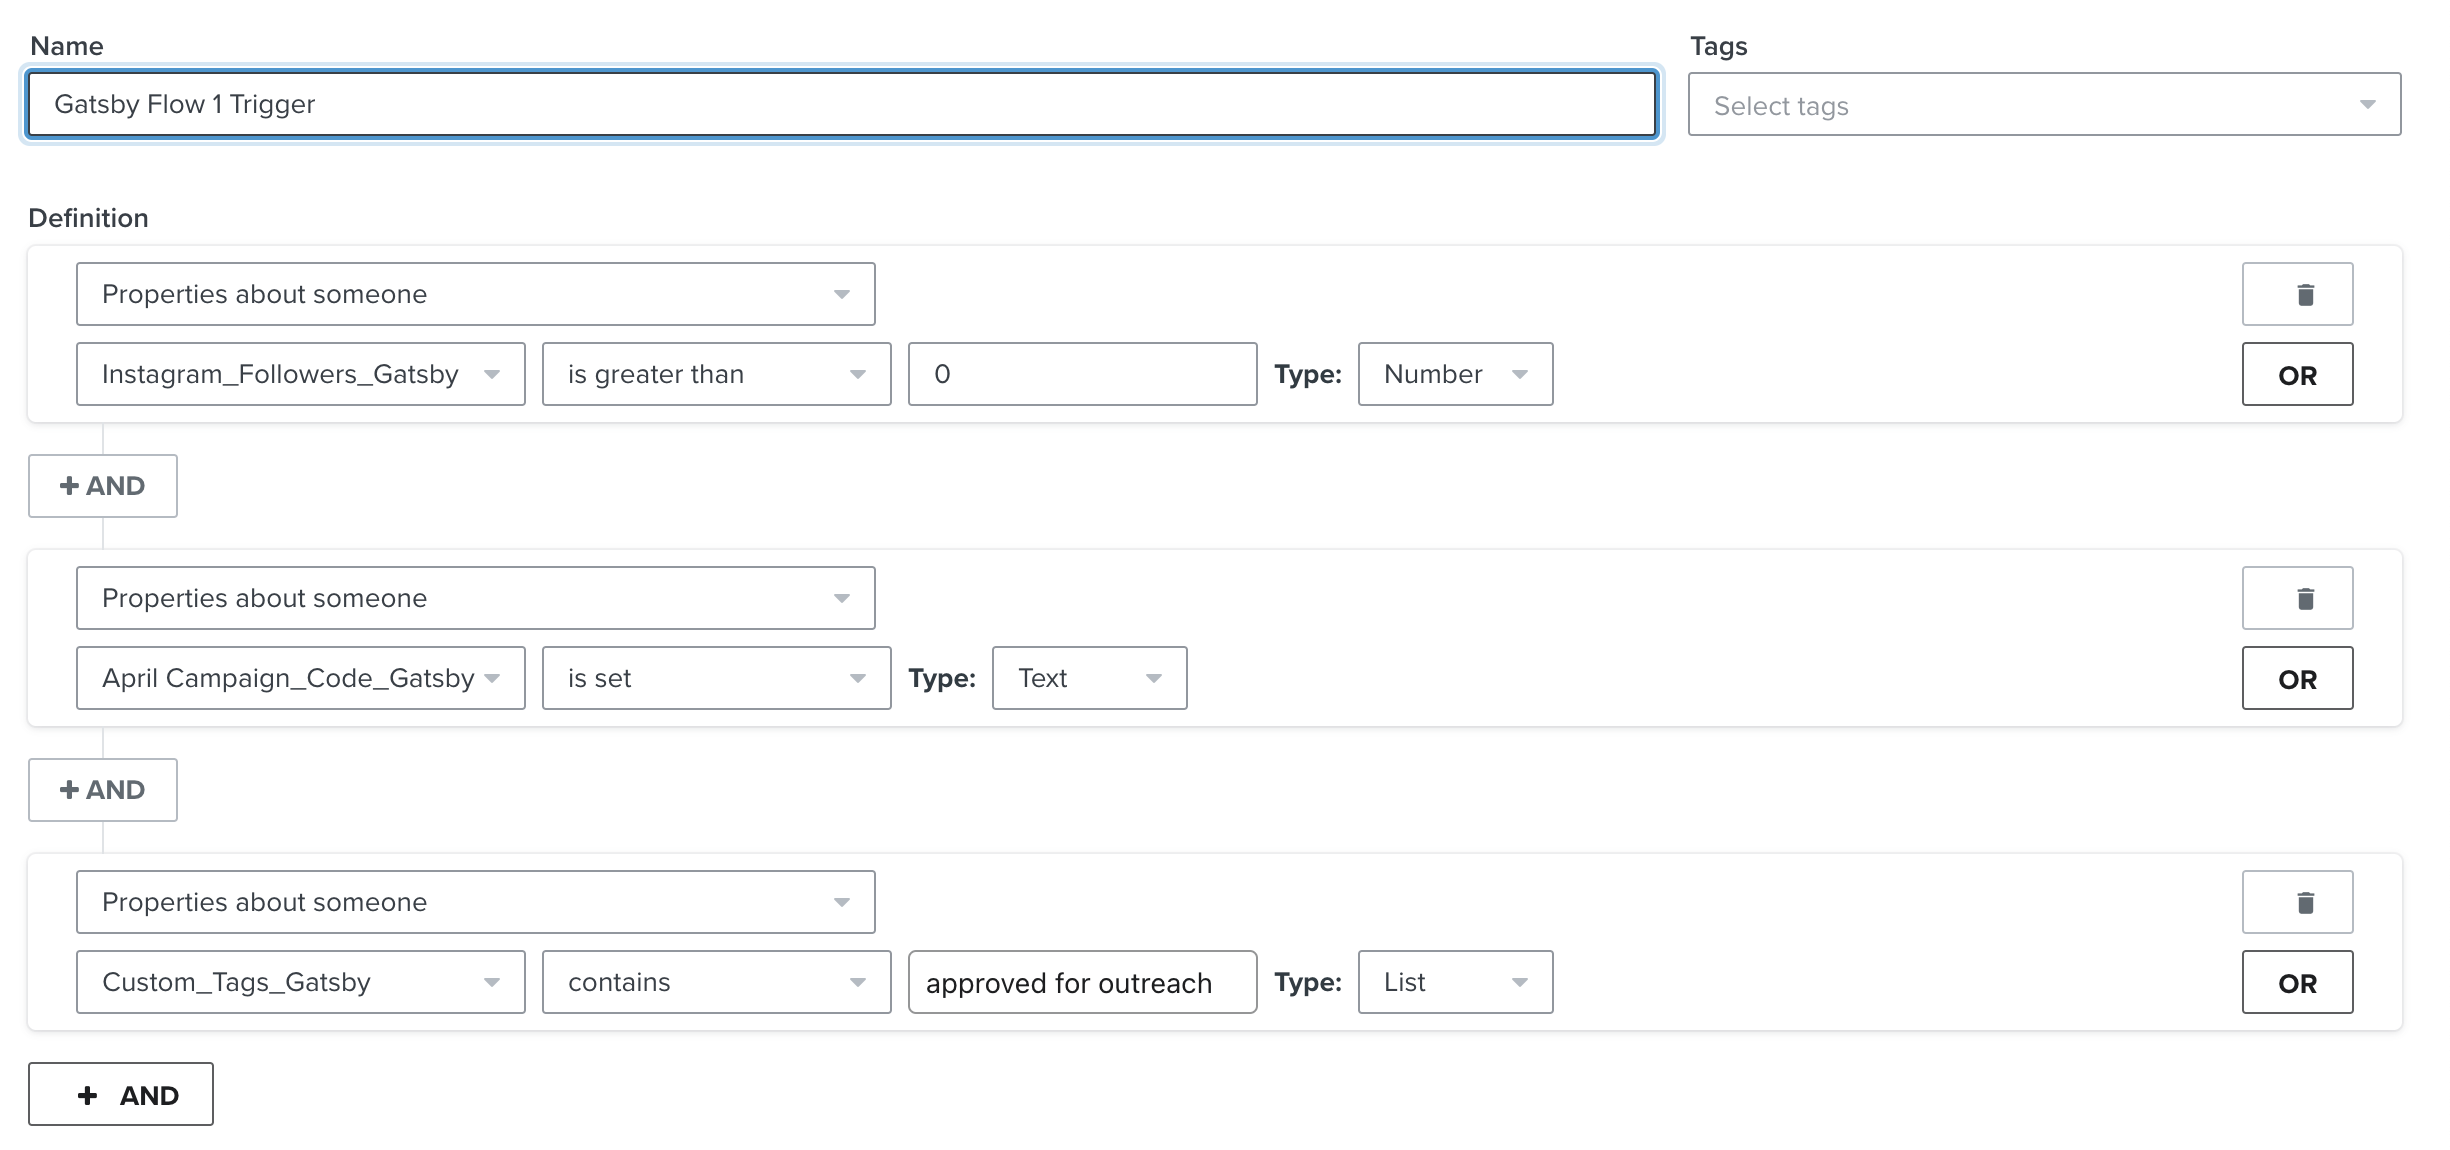
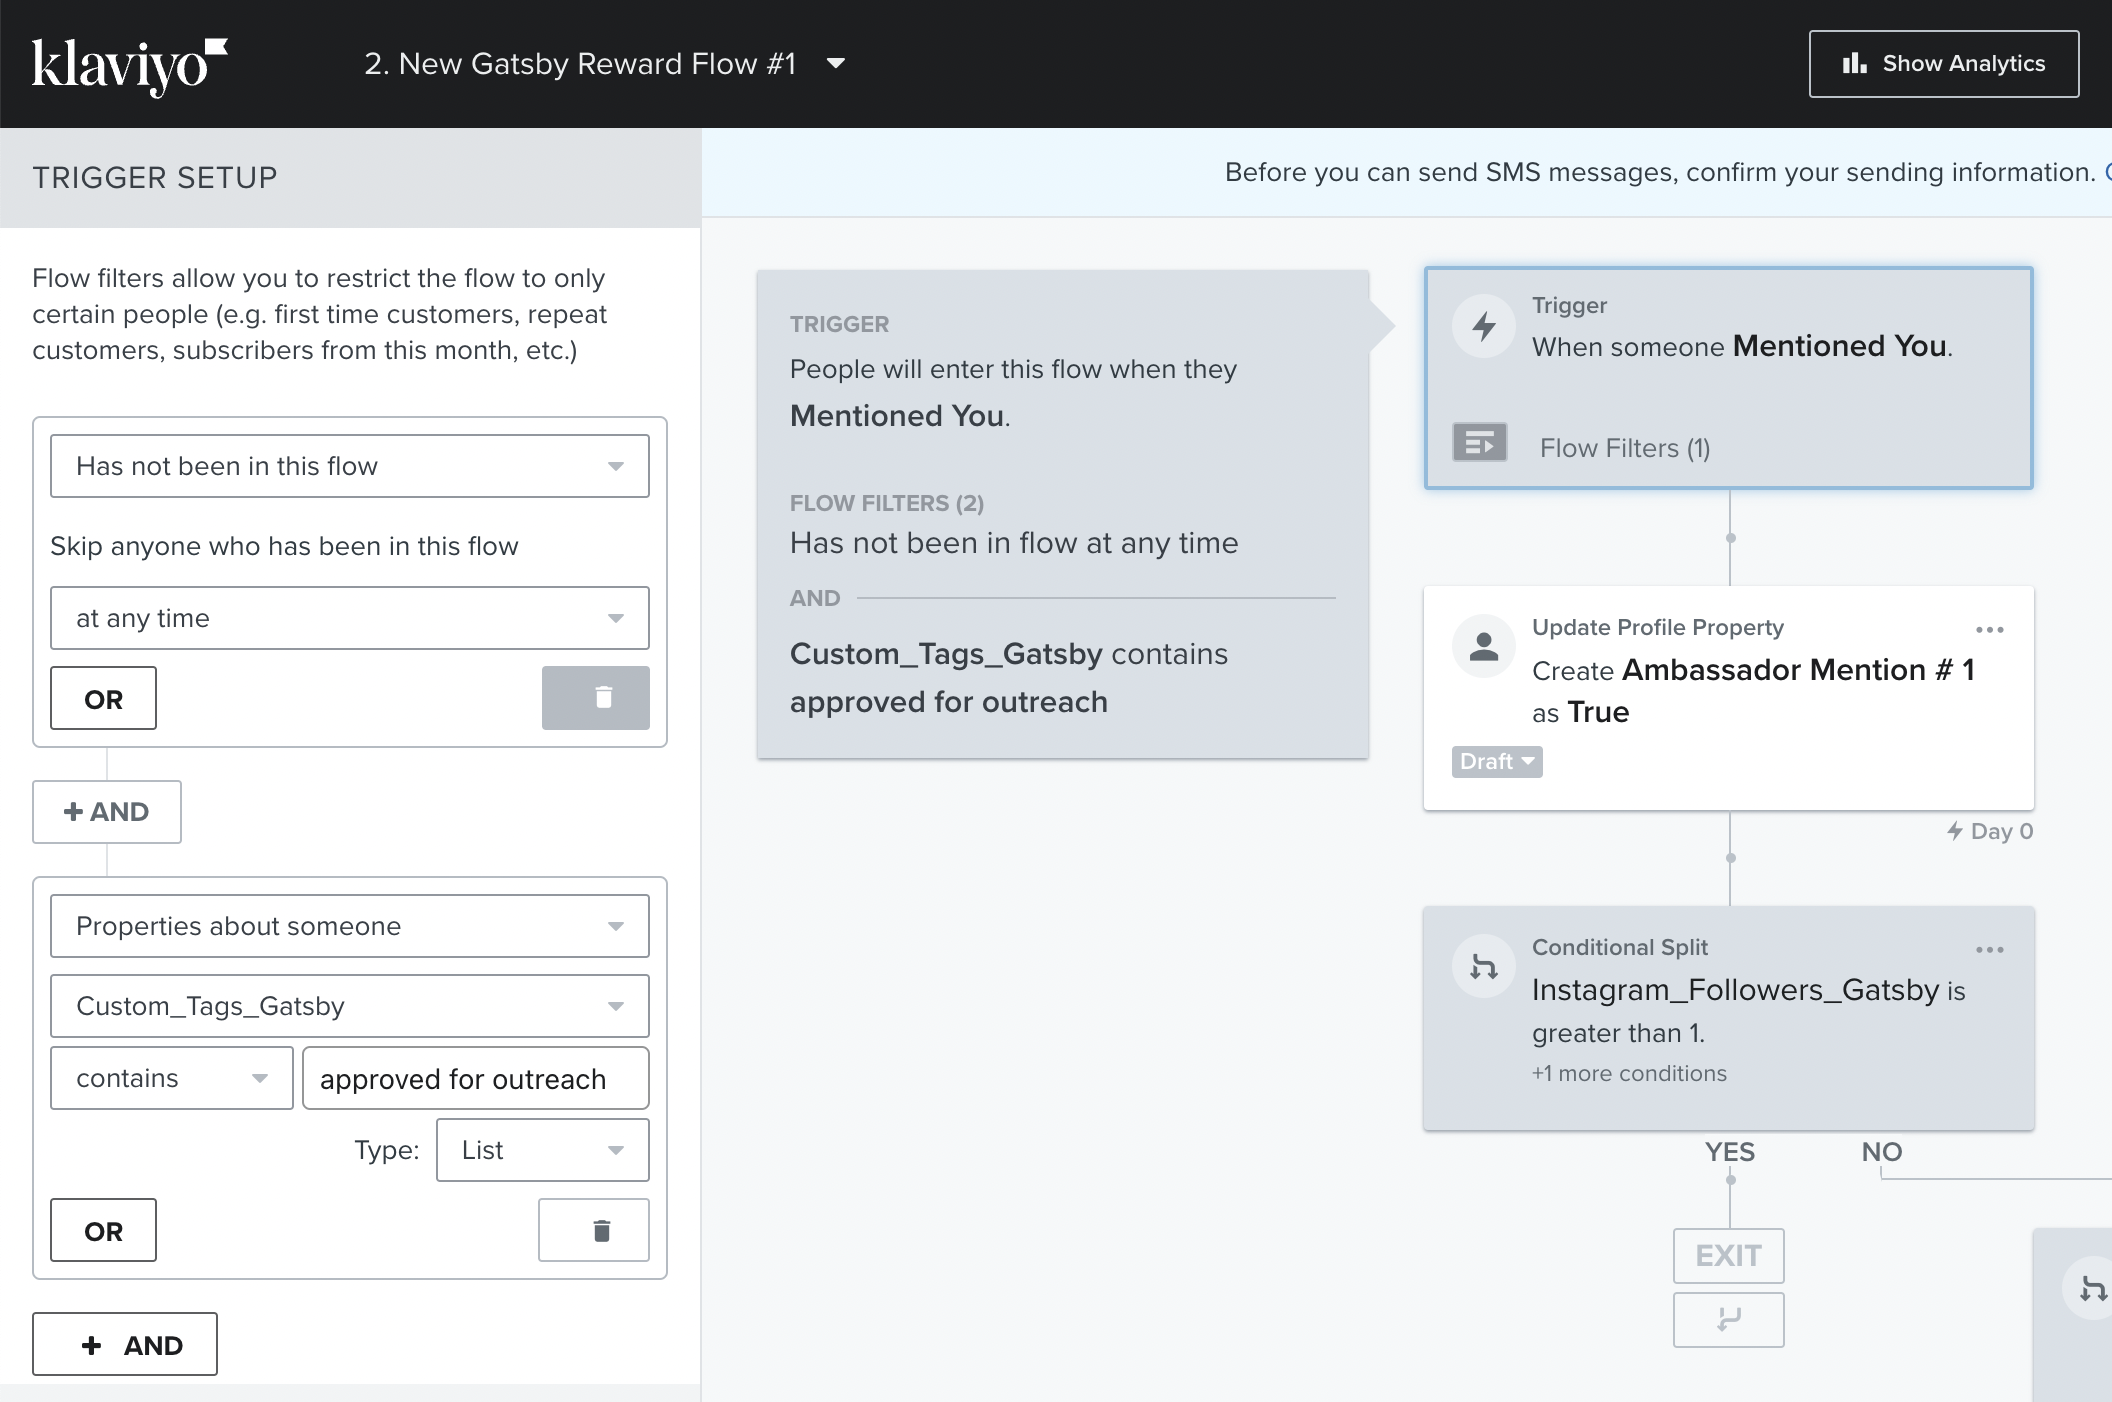
Now a profile will need to have the tag in order to get into the segment which triggers the flow. It's also important you use this Tags property in your reward flow as well, for example if Mentioned_You is the flow trigger, be sure to use a filter that says they must have this tag in order to receive the reward:
(see all the properties we sync to Klaviyo)
How to Remove profiles from a Tag
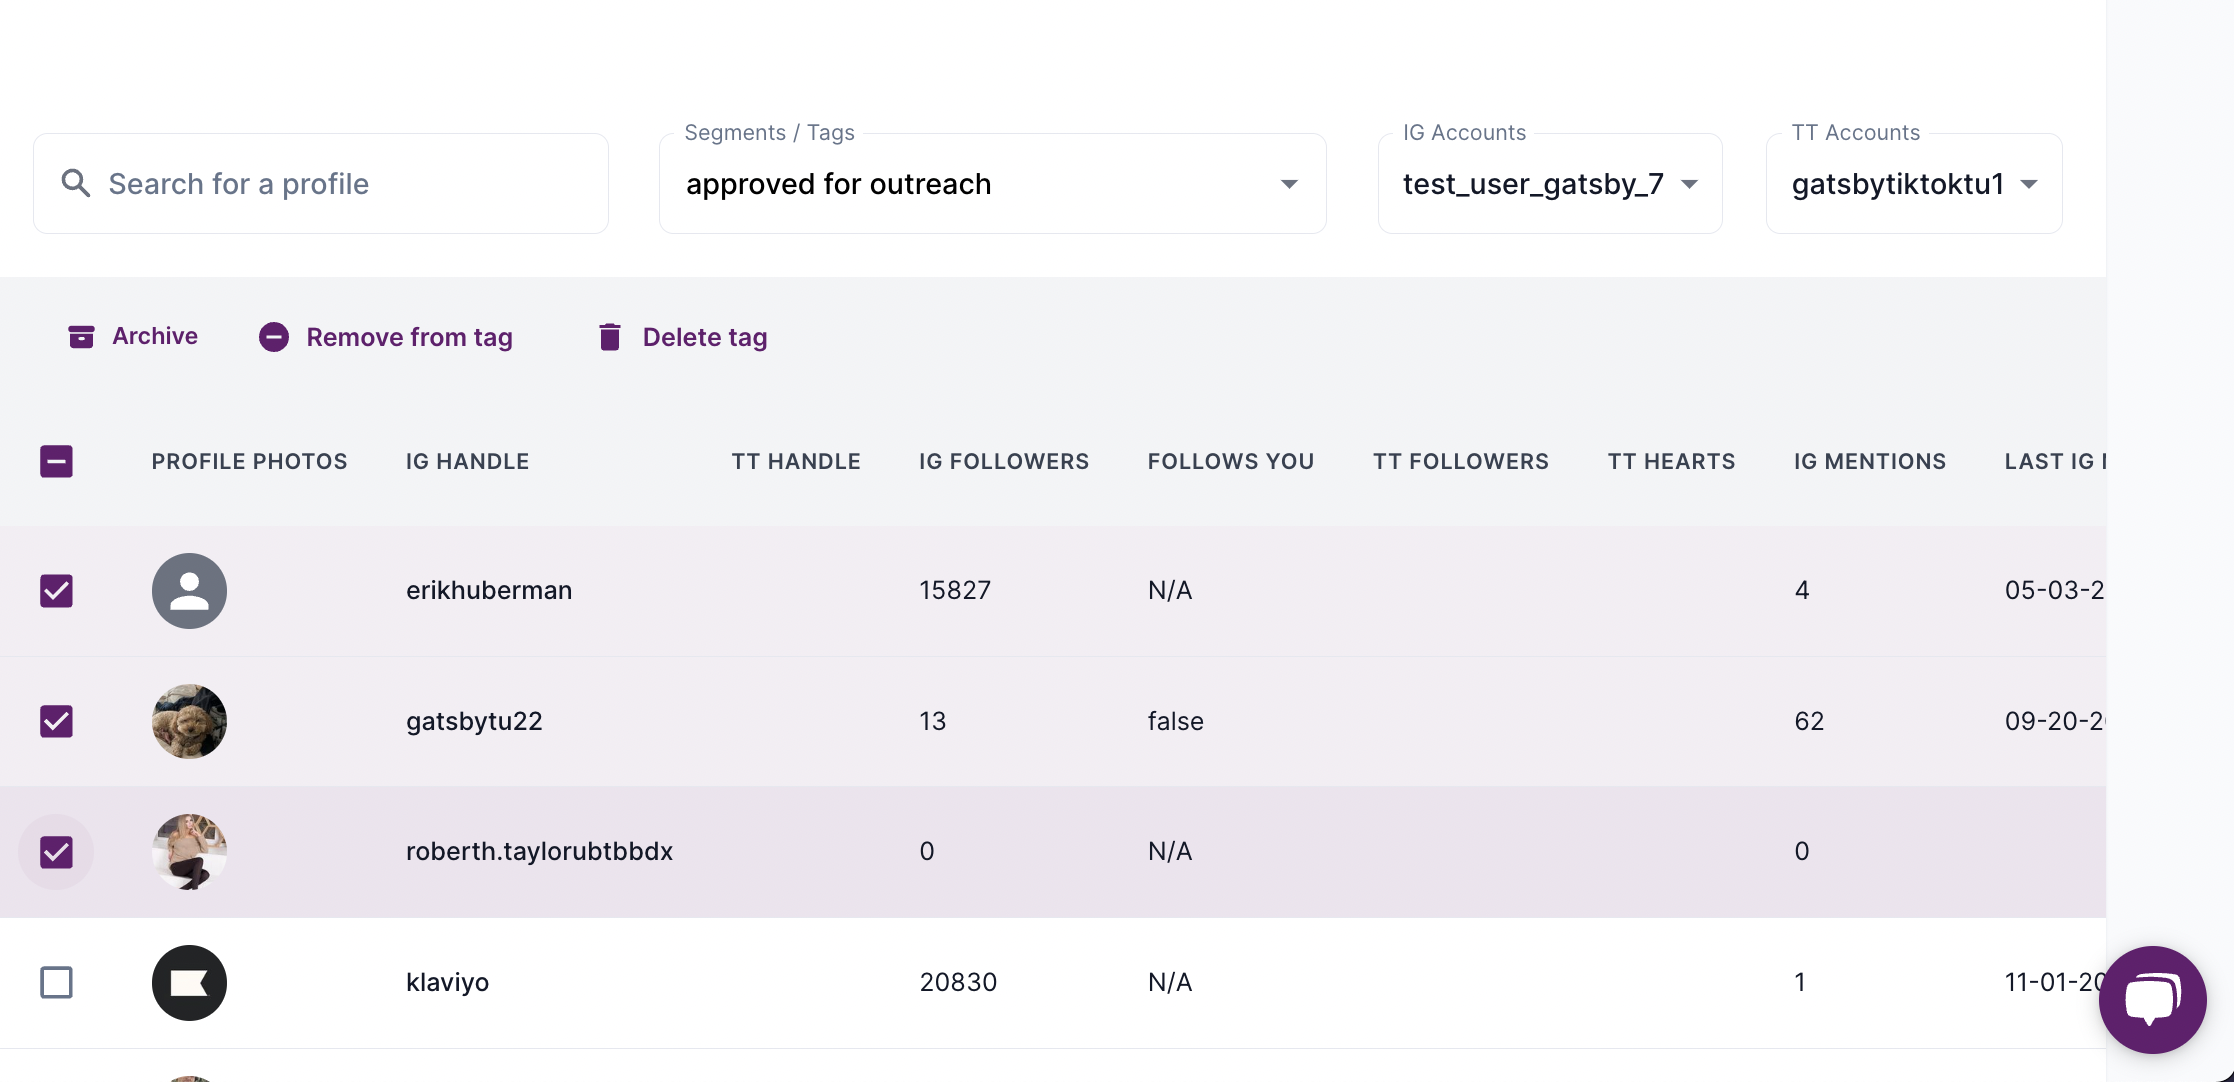
To remove members from a tag, simply open the Tag list by choosing it from the dropdown:
And then select the checkbox next to the profile(s) you want to remove from the tag and select "Remove from tag"