Using Webhooks and a Woobox Form
This guide walks you through connecting Gatsby to a Woobox form.
Step 1: Create a new text field in Woobox to capture Instagram handles:
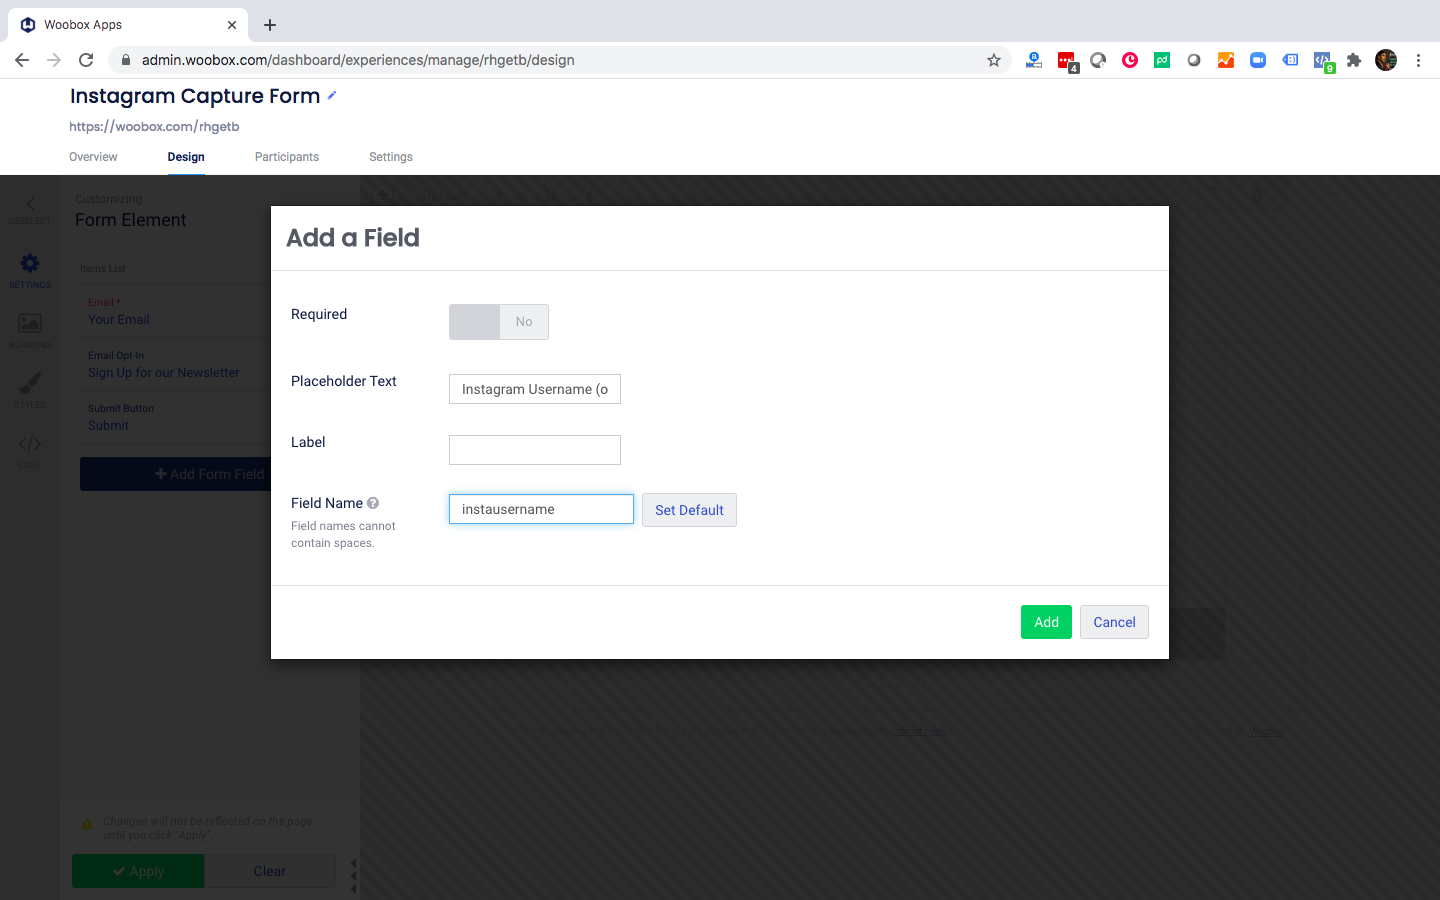
Give the Field Name Id of: instausername

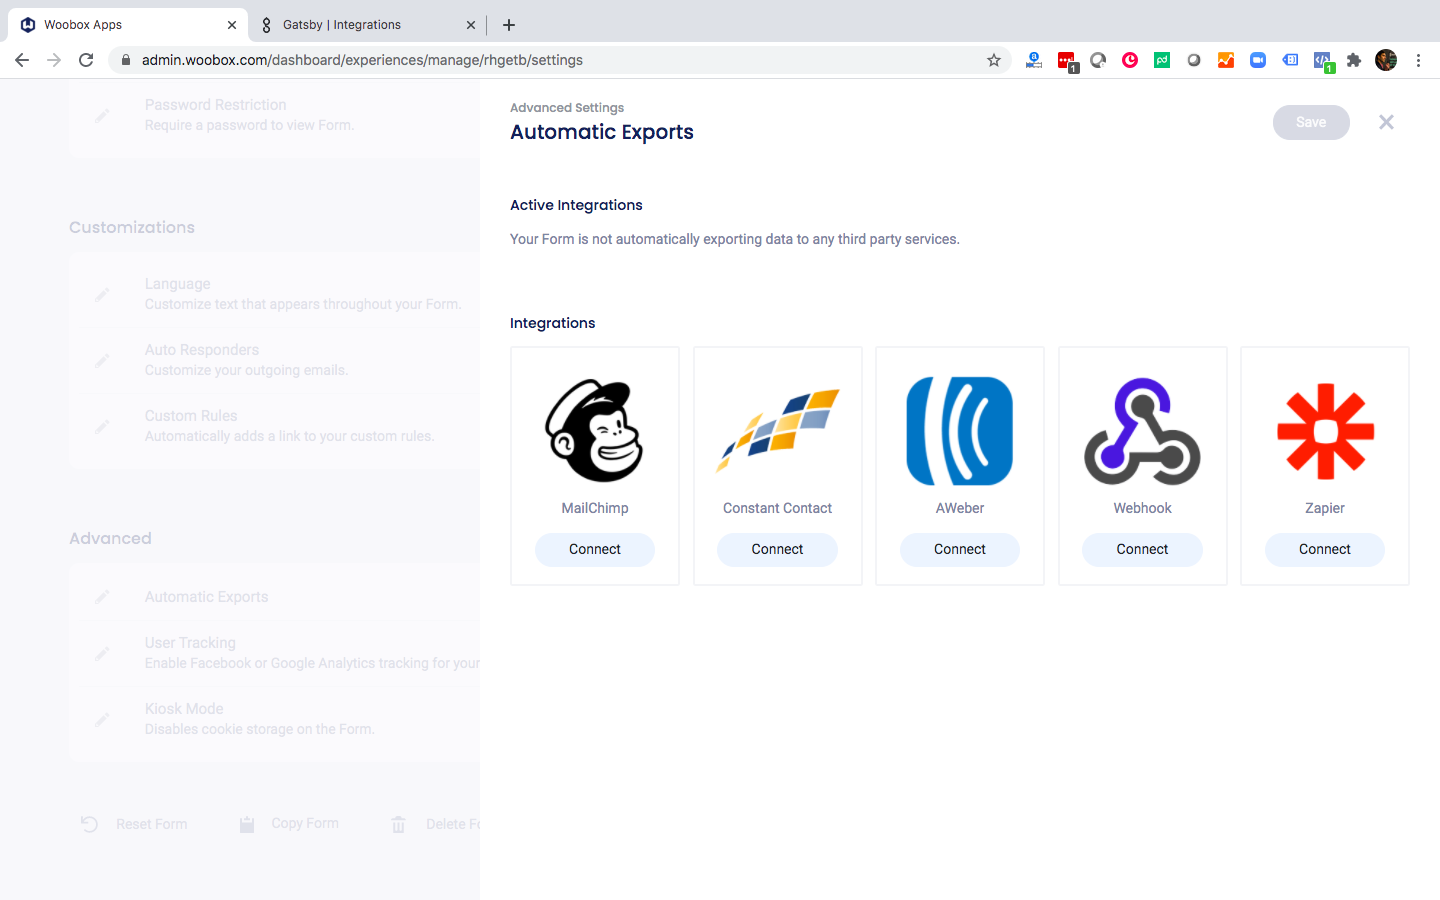
Step 2: Connect that form to Gatsby using Webhooks.
Please follow this Woobox guide to see where to place your Webhook URL: https://help.woobox.com/articles/real-time-api-integration/
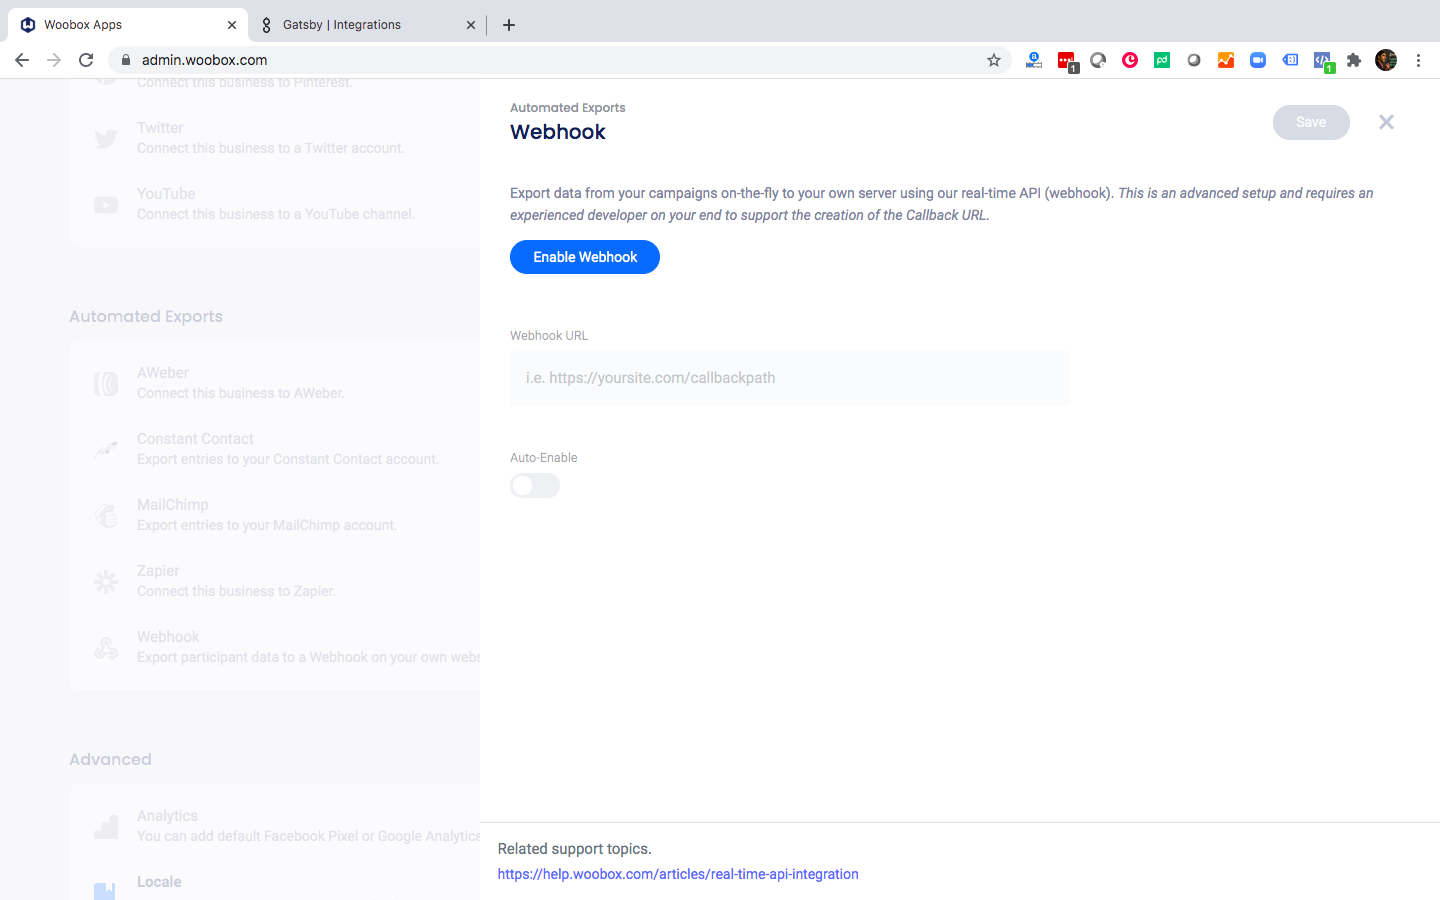
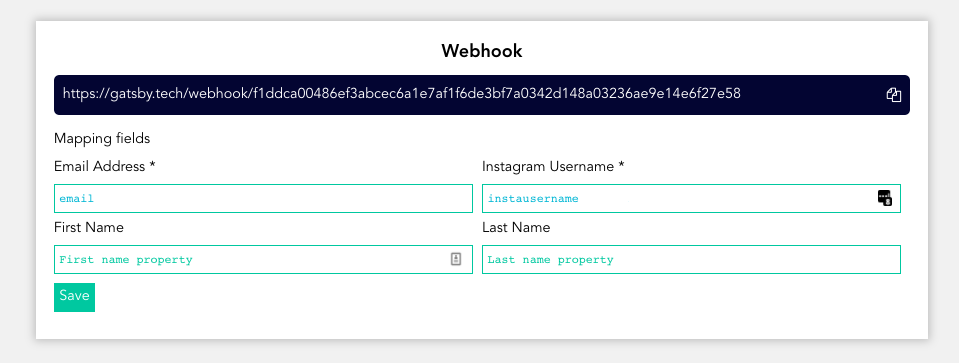
Step 3: Once you see the prompt for Webhook URL, navigate to your Gatsby Account and find your Webhook URL under the Integrations tab:

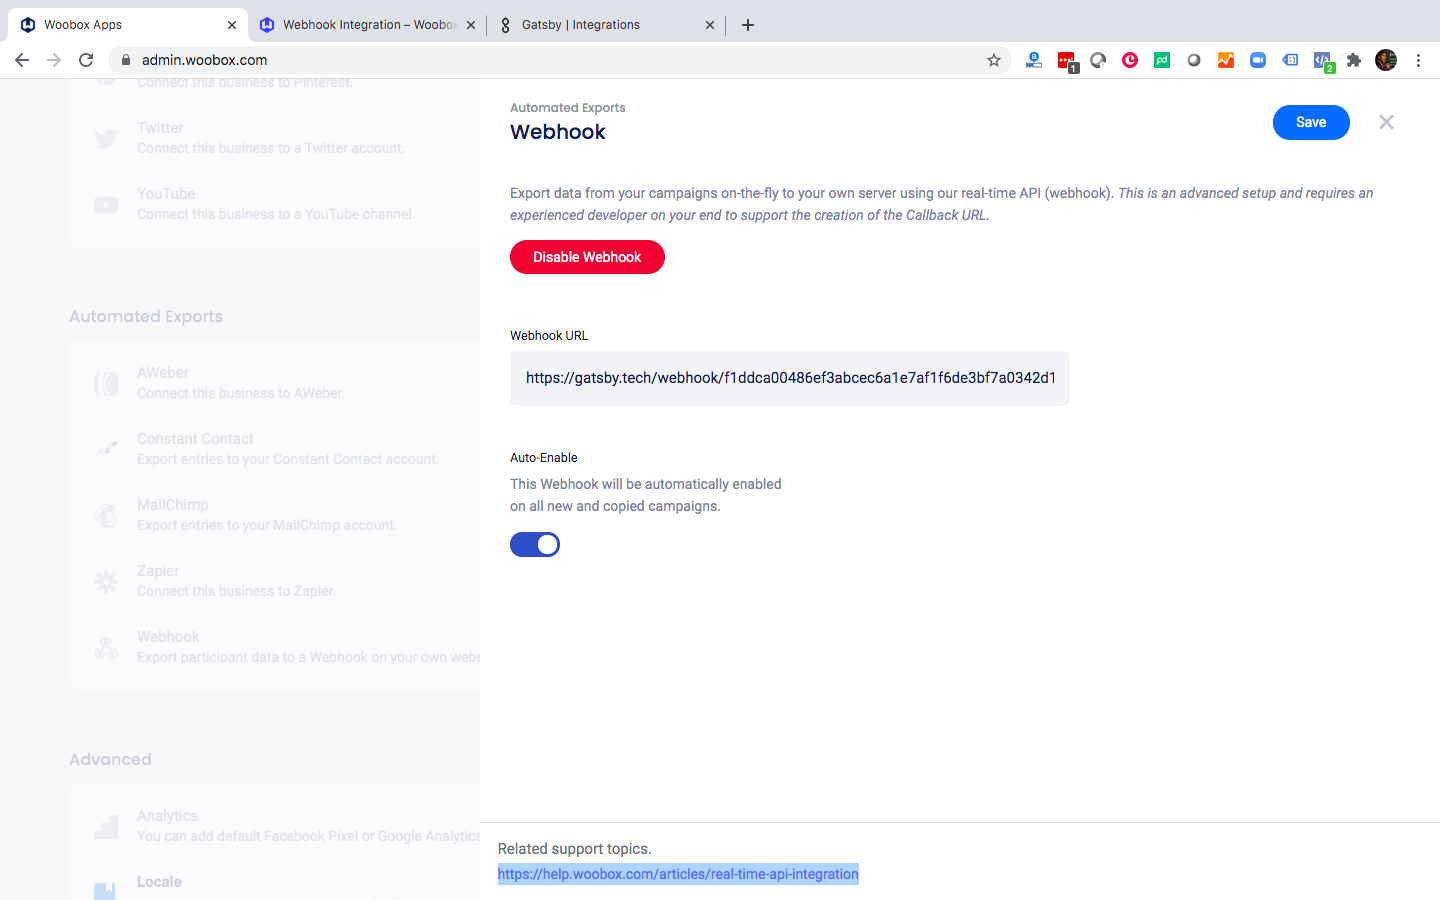
Step 4: Copy your Gatsby Webhook URL into the Woobox field, and you will likely want to toggle on Auto-Enable as well. Again, please see their guide on this.
Step 5: Back in Gatsby, enter the following as your Field IDs:
instausername
Press "Save" and press the Launch Campaign or Update Campaign button in the Gatsby header to publish these changes live. And if you haven't connected your Instagram account to Gatsby yet, be sure to do that as well (guide).
After that, email address and Instagram handles from your Woobox form will flow into your Gatsby account for data enrichment and Instagram mention tracking. You may want to pass this data back to Klaviyo as well, following step 2 of this guide.
Let us know if you have any questions.