This custom integration enables you to capture Instagram handles with your Wisepops popup and automatically pass them into your Gatsby account for insights.
Requirements: Access to your Gatsby account and your Wisepops account
No developer required, and no need to add any Gatsby code to your website
How it works: You will be able to keep your current Wisepops popup styled as is, and you'll just be creating a new form field for Instagram handles and setting up a Webhook trigger to pass the data to your Gatsby account.
Before starting, please watch the 1 minute tutorial:
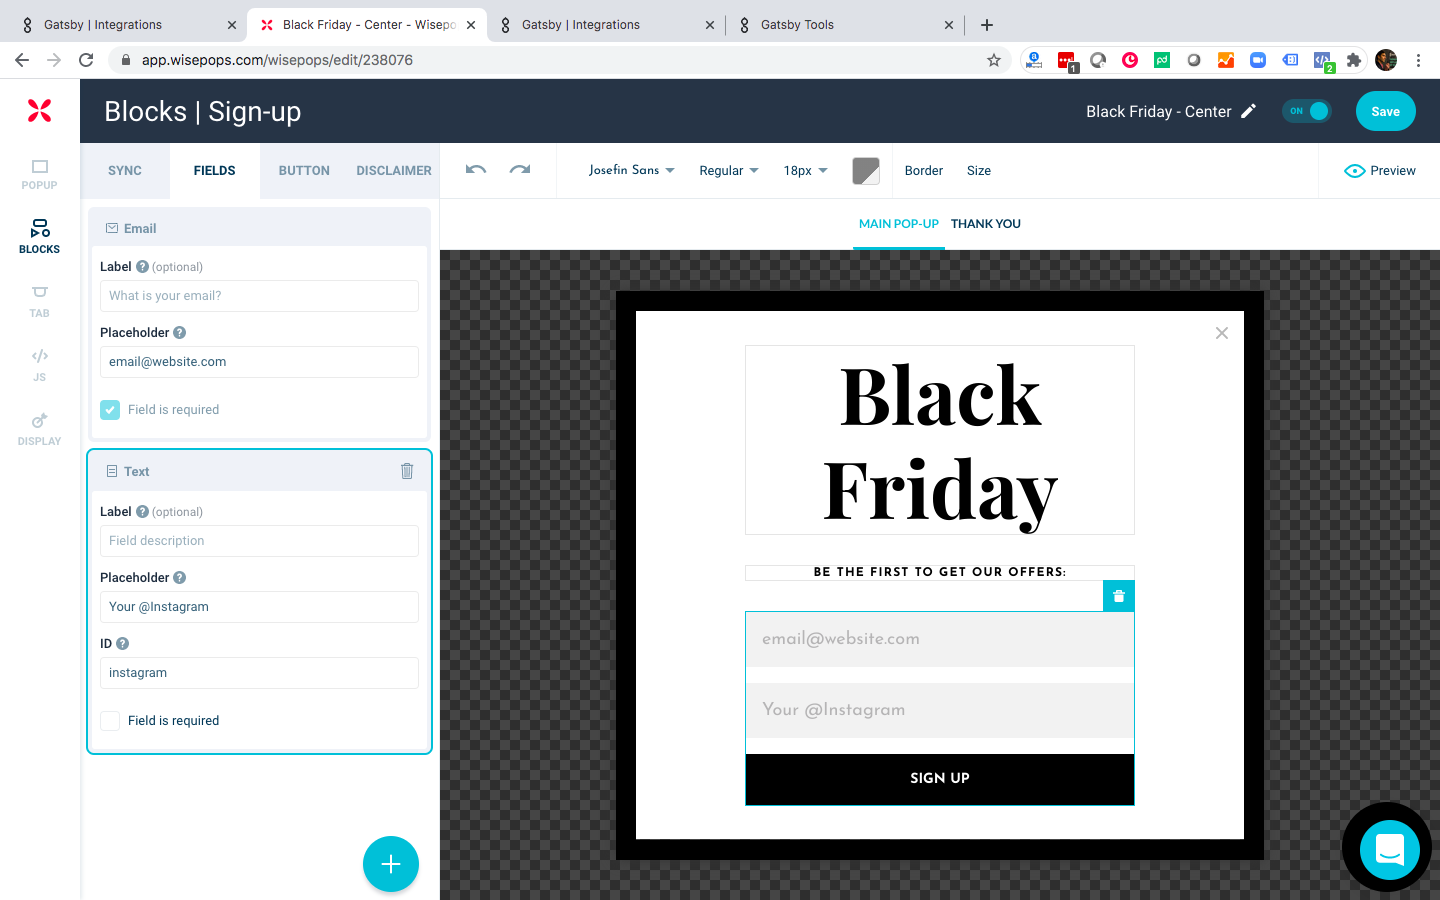
Step 1: Add a field in Wisepops for Instagram handle
-
Log into Wisepops and open the pop-up you want to modify
-
Click on the form fields and choose the (+) sign to add a new field
-
Choose "Text" field
-
Give the Placeholder text something like "Instagram Username" or "Your @Instagram"
-
Enter field ID as instagram
-
You likely want to keep the field as optional, and not check the box for required
-
Save changes
Step 2: Set up your Webhook in Gatsby
-
Log into Gatsby and navigate to the header >> Integrations page
-
Scroll down and click on Webhook
-
Map the field ids that you created in Wisepops
Note: because of how Wisepops sends the data as an array you will want to enter in the format of: [0].fields.id. So if you used "instagram" as the field id in wisepops, then enter the email and instagram properties exactly as shown below:
[0].fields.email
[0].fields.instagram
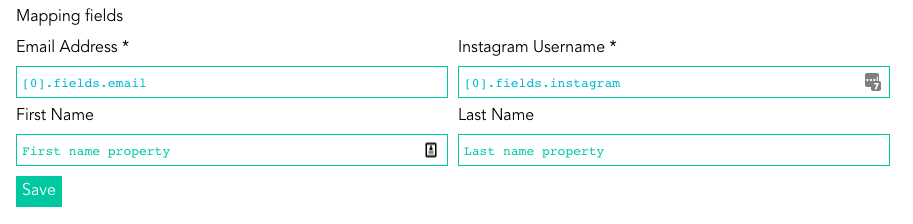
You can choose to send first name and last name over as well, but that is optional and okay to leave as-is.
4. Click the Launch Campaign button in the Gatsby header (if you have launched before, it will say "Update Campaign") Don't worry about pasting any script like the blue message says, you don't need to for this integration.
Step 3: Paste the webhook in Wisepops
-
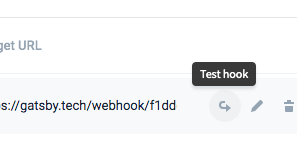
Press down on your webhook url in Gatsby to copy it into your mouse
-
Navigate back to Wisepops >> click the Wisepops logo on the top left to return to the home page >> click on your face icon top right >> settings >> Email API
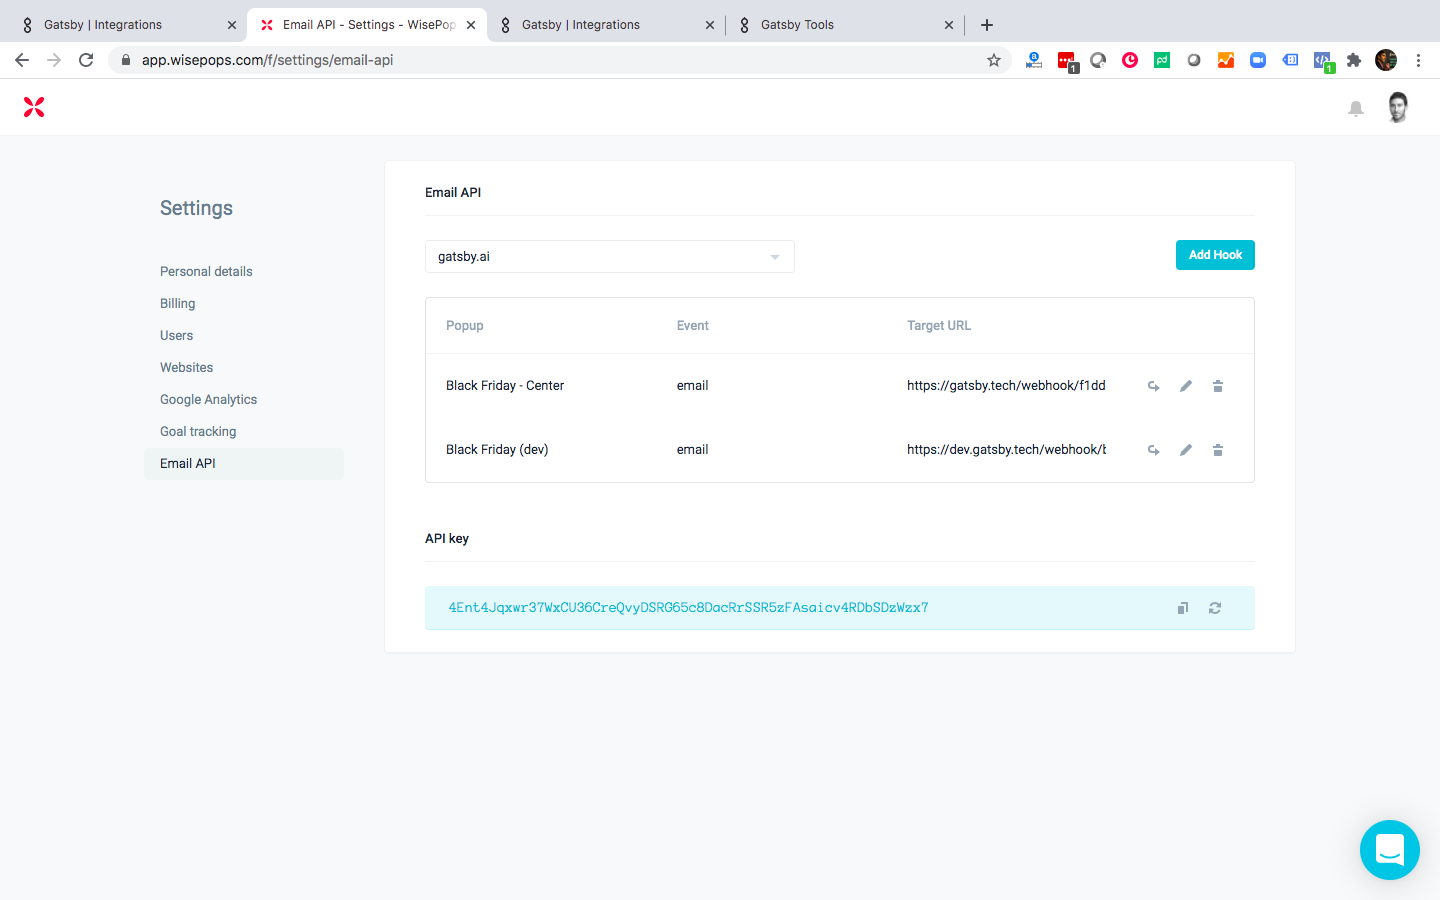
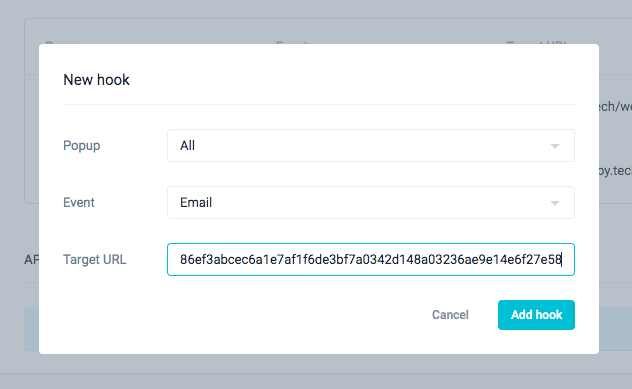
3. Click "Add Hook"
4. Choose the popup you just modified or choose "All"
5. Leave Event as "Email"
6. Paste the Webhook URL that's copied in your mouse as the Target URL
7. Click "Add hook"
Step 4: Test
-
You will now see a "Test Hook" button
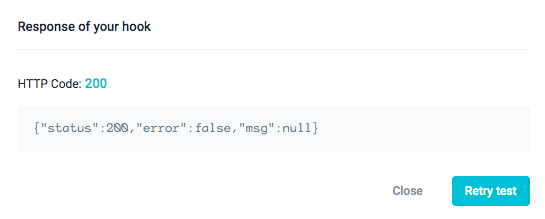
Run that test and make sure you get a response code of 200, meaning a success. The fields are mapped correctly.
Once you're live (guide on installing Wisepops on your website), you can test that this integration is working for real by adding an email address and Instagram handle into your popup and confirming that the submission appears in both your Wisepops and Gatsby dashboards. In Gatsby you will also see Instagram metrics like # of followers, bio, a G-Score and engagement rates after they mention your brand in media.
Many clients also use this integration in conjunction with our Klaviyo integration, for automated outreach and flows. To connect this data with Klaviyo for Automated Flows, please continue to this guide, starting on Step 2.

Let us know if you have any questions!