Connect Gatsby with Mailchimp (Zapier) Using Zapier / Webhooks
If you want to pass the follower stats to Mailchimp, start by:
-
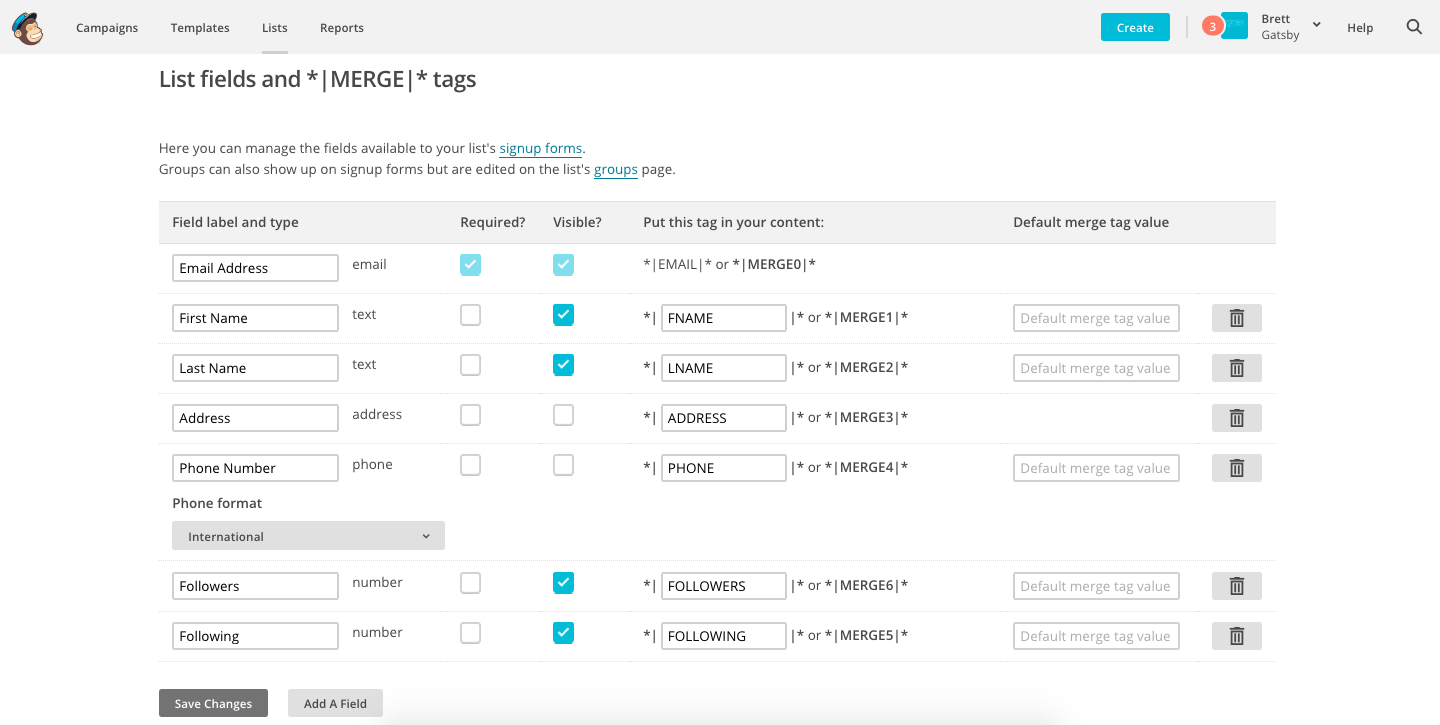
Click on List in your Mailchimp account >> Settings >> select "List Fields & Merge Tags" and create 2 new fields with the exact names of:
Followers
Following
As shown below:

Then To Start The Integration:
Create or Sign in to your Zapier account and select Make a zap!

Select Webhooks by Zapier as the trigger app by typing its name.
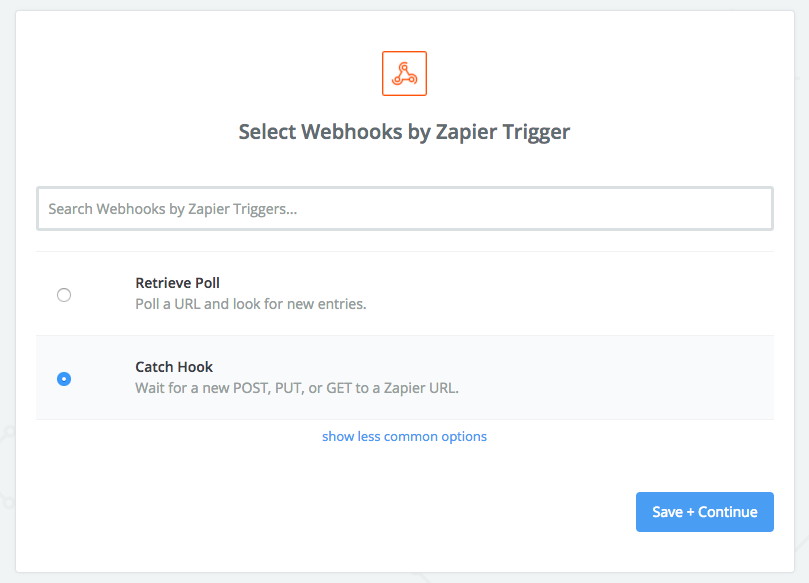
Select the trigger Catch Hook (second option) and click Save + Continue
Click Copy next to the Webhook URL
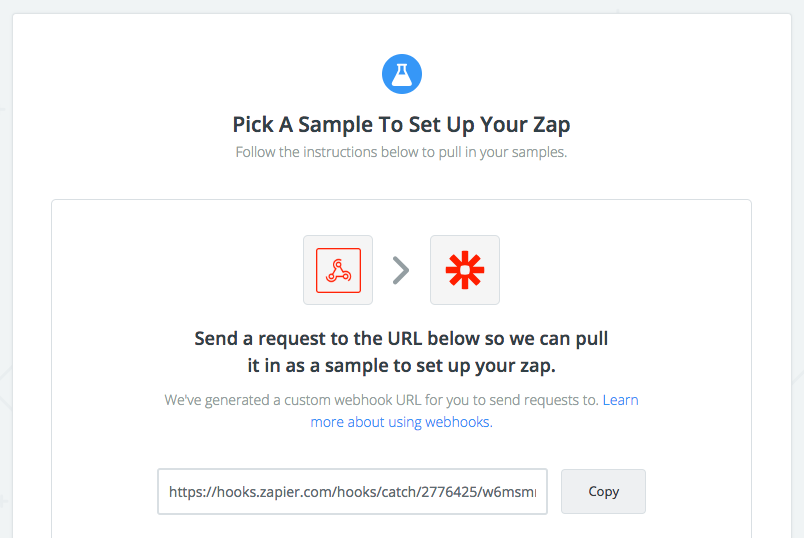
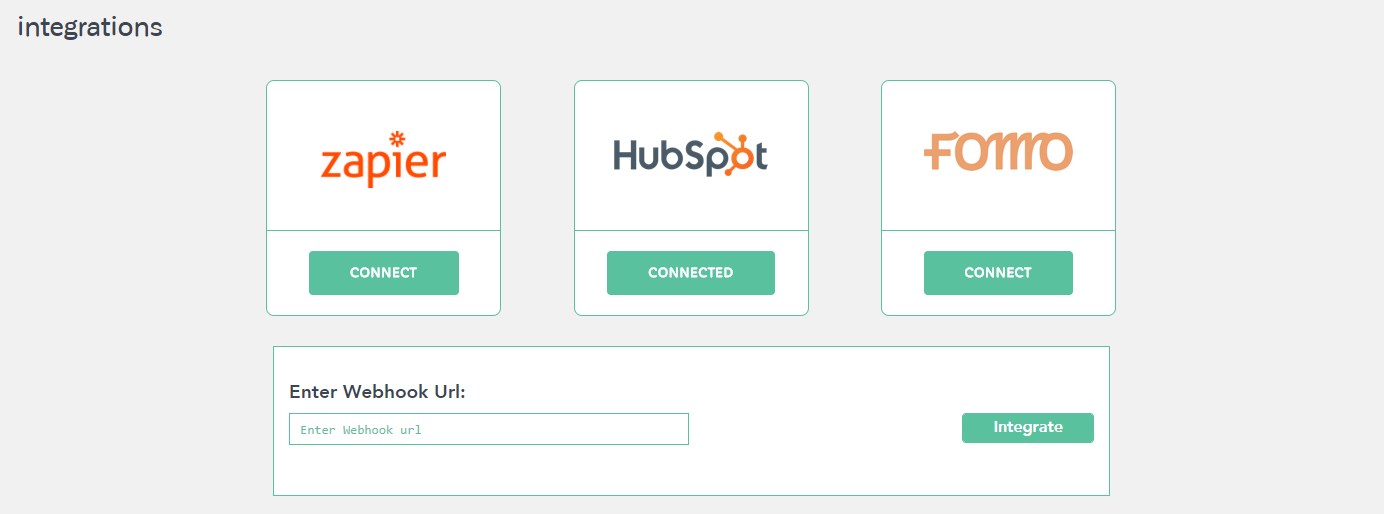
Paste that webhook URL in Gatsby >> Integrations tab. Click Connect on Zapier, scroll down and paste the Webhook URL and press Integrate. (If it's not still in your mouse, copy it again from your tab open on Zapier.)
Now, send a test submission to that webhook url. If you don't already have a form integrated with Gatsby that you can enter an email & Instagram handle into, we recommend setting up a quick and free Typeform survey using this guide.
Now complete that test submission and continue in Zapier.
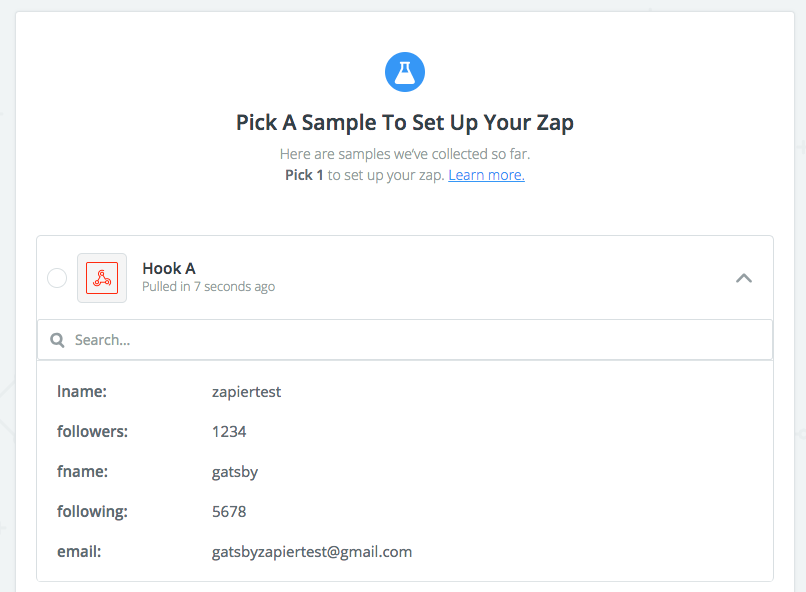
You should now see your sample data in Zapier:
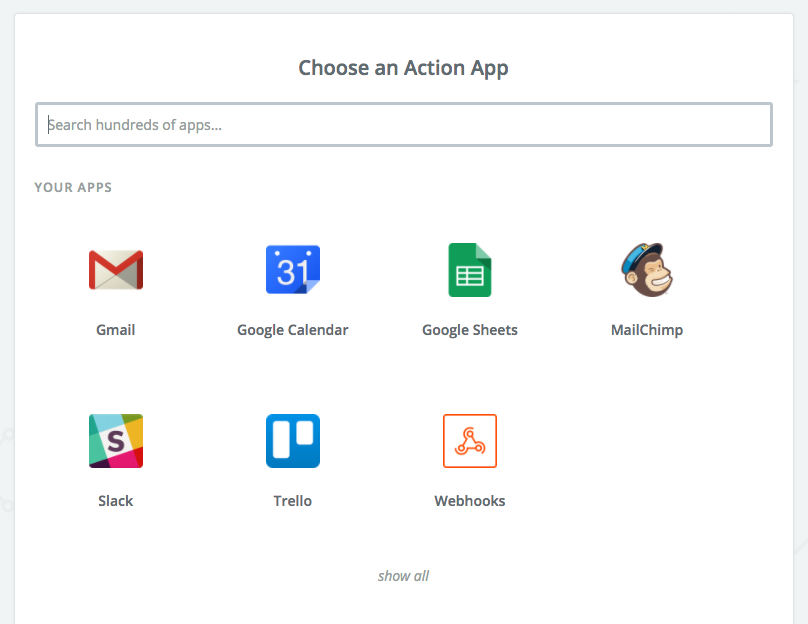
Now you need to configure the Action app. Here, we'll configure Mailchimp:
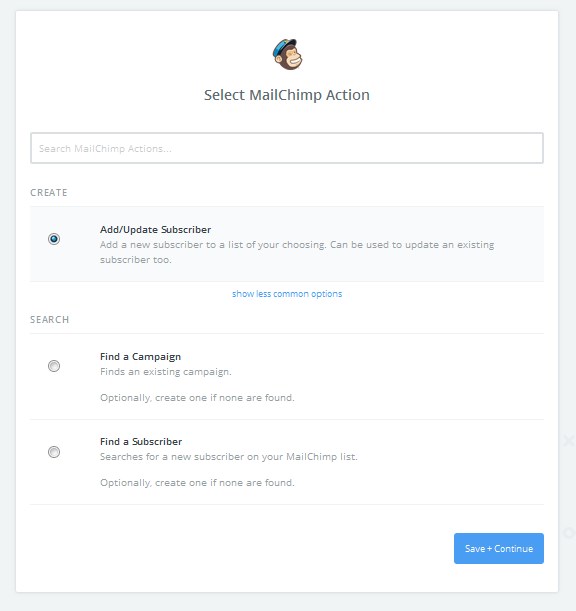
Select Add/Update Subscriber
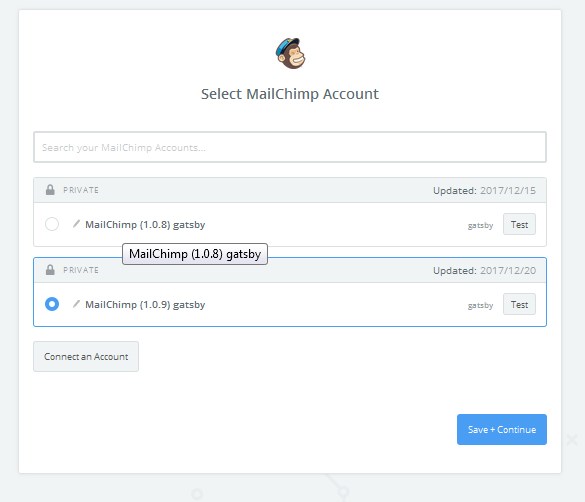
Choose the account to which you want to add the emails (note you need to log in your Mailchimp account to see it here)
Lastly, configure the basics by selecting the list you want to add the emails to, and the dynamic email and name fields we just configured by opening the drop down list, via the icon with 4 lines and a + sign and selecting the test fields:
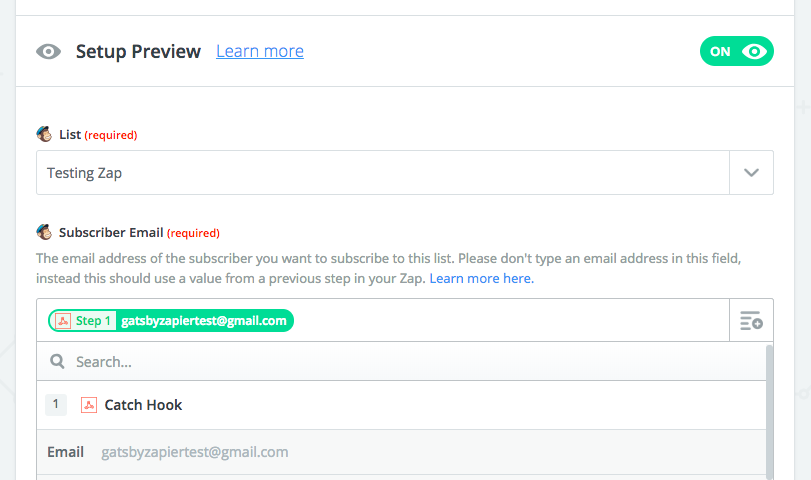
Note, if you don't see fields for First Name and Last Name or Followers and Following, click Refresh Fields on the bottom of the page
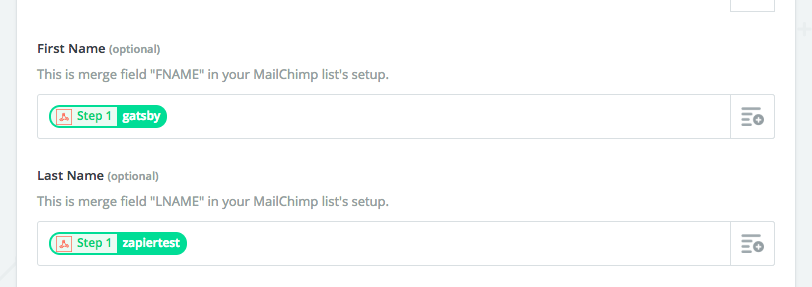
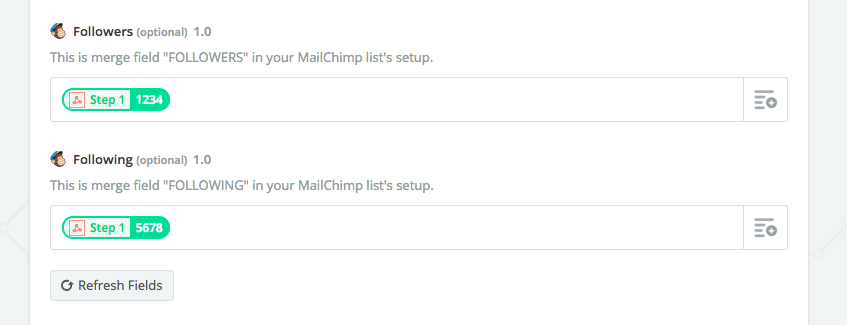
Now just click Continue and do a Final Test:
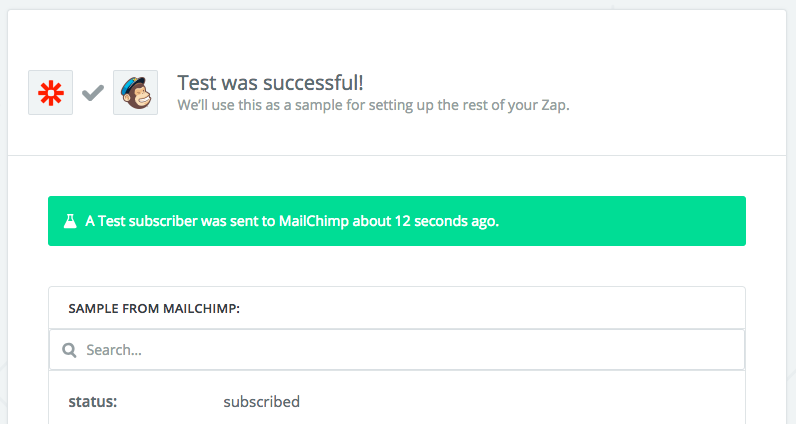
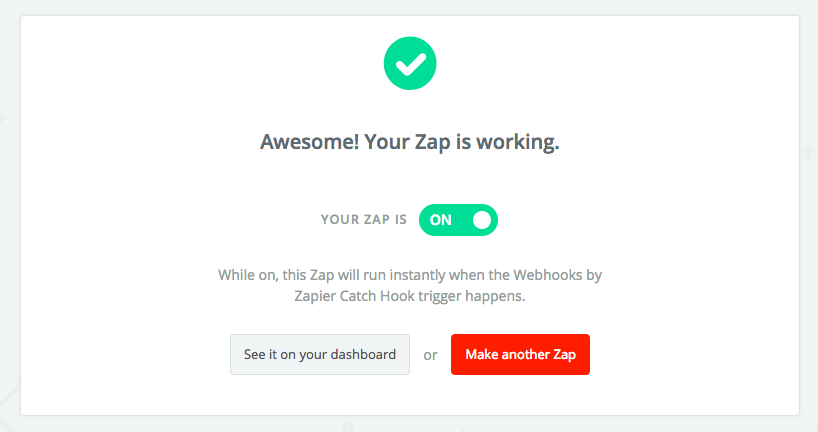
Last step: click Finish then name your Zap and ensure you turn it on :)
Let us know if you have any questions.